With its advantages of high efficiency, convenience, high oil yield and so on, the new automatic oil press has been widely used in the oil processing industry as well as in the field of home oil extraction. Correct installation is the key to ensure the stable operation and best performance of the oil press. The following will introduce the installation method of the new automatic oil press in detail.
I. Preparation before installation
Site selection
The oil press should be installed in a dry, well-ventilated, flat and solid ground. Avoid installation in wet, corrosive gases or dusty environment, in order to prevent the machine from rusting, corrosion of parts and dust into the machine’s internal impact on normal operation. At the same time, make sure that there is enough space around the installation location to facilitate the operation and maintenance of the machine, as well as access to raw materials and finished products. Generally speaking, at least 50 centimeters of space should be reserved at the front and back of the machine.
Preparation of tools and materials
Prepare the necessary tools and materials in advance according to the installation requirements of the oil press. Common tools include wrenches, screwdrivers, pliers, levels, etc. As for materials, some fasteners such as spacers, bolts, nuts, etc., as well as expansion bolts for fixing the machine (if it needs to be fixed on the floor or wall) may be required. It is also necessary to prepare the power cord and make sure that its specifications meet the power requirements of the oil press.
Checking the equipment
Before installation, carefully check the parts of the oil press for completeness and damage. Check whether the shell of the machine has deformation and scratches, and whether the internal parts such as screw, chamber and gears are firmly installed, loose or missing. At the same time, check whether the randomly attached technical documents, manuals, warranty cards and so on are complete, so as to refer to in the installation and use process.
Installation steps
Positioning of the main machine
Place the main machine of the new automatic oil press smoothly on the pre-selected installation position. Adjust the level of the machine with a leveling device to ensure that the machine is running in a horizontal state, which can reduce the vibration and wear of the machine and improve the efficiency of oil extraction and the service life of the equipment. If the ground is not level, you can adjust the level by putting suitable shims under the machine base.
Fixing the machine (optional)
According to the actual need, you can choose to fix the oil press on the ground or on the wall to enhance the stability of the machine. If you choose to fix it on the ground, first mark the position of the mounting holes on the machine base, and then use an electric drill to drill holes on the ground at the corresponding positions, the depth and diameter of the holes should match the specifications of the expansion bolts. Insert the expansion bolts into the holes, gently tap with a hammer to fix them firmly, then align the mounting holes of the machine base with the expansion bolts, put on the spacers and tighten the nuts. If you choose to fix it on the wall, the operation method is similar, just drill holes on the wall and install the expansion bolts.
Connecting the power supply
The new automatic oil press generally adopts three-phase power supply (the specific voltage and power are subject to the product manual). Before connecting the power supply, make sure the power supply has been cut off to ensure safety. According to the wiring diagram of the machine, connect the power cord correctly to the power terminal of the oil press. Pay attention to the distinction between the fire wire, zero wire and ground wire to ensure that the wiring is firm and not loose. After the wiring is completed, use insulating tape to wrap the terminals to prevent leakage.
Installation of feeding device
The feeding device is an important part of the oil press, which directly affects the transportation of raw materials and the effect of oil extraction. Install the feed hopper at the feed opening of the oil press, and use the bolts to fix it firmly. Ensure that the installation position of the hopper is correct, and closely fit with the feed opening of the press chamber to avoid material leakage. At the same time, adjust the angle and height of the feed hopper to make it easy to put raw materials.
Installation of oil and dregs discharging device
The oil outlet device is used to collect the oil extracted from the press, while the dregs outlet device is used to discharge the oil dregs produced after oil extraction. The oil outlet pipe is connected to the oil outlet of the press and the other end is connected to the grease collection container. The dregs outlet pipe is also connected to the dregs outlet of the oil press and guided to a suitable dregs collection location. During installation, make sure that the pipes are connected tightly and there are no leaks. Sealant or clamps can be used to enhance the sealing of the pipe connections.
Installation of ancillary equipment (if any)
Some of the new automatic oil presses may be equipped with some accessory equipment, such as heating devices, vacuum oil filters and so on. Install these ancillary equipment in order and connect them properly with the main machine of the oil press according to the requirements of the product manual. For example, the heating device is usually used to preheat the raw materials to improve the oil yield, and when installing it, make sure that the connection part between it and the press chamber is well sealed to prevent heat leakage. Vacuum oil filter is used to filter and purify the oil extracted from the press, when installing it, pay attention to the connection order and sealing of the pipeline to ensure the filtering effect.
Third, debugging after installation
Check the connection of each part
After the installation is completed, double-check whether the connection of each part of the oil press is firm and there is no looseness. Check whether the connection parts such as power line and pipeline are correct and sealed to make sure that there will be no safety hazard or leakage problem during the operation of the machine.
No-load test run
After confirming that all parts are connected correctly, do not add raw materials first, turn on the power, and let the oil press machine carry out no-load test run. Observe the operation of the machine, check whether the motor starts normally, whether it runs smoothly, and whether there is any abnormal noise or vibration. At the same time, check whether the elasticity of the transmission parts (such as belts, chains, etc.) is appropriate, if necessary, make adjustments. The no-load test run time is generally 10 – 15 minutes, during which the machine’s running status should be closely monitored.
Load test run
After the no-load test run is normal, the load test run can be carried out. Add appropriate amount of raw materials into the feed hopper (it is recommended to add a small amount of raw materials for preliminary debugging), start the oil press and observe the running status of the machine under load. Check whether the oil output is normal, whether the oil output speed and oil output rate are in line with the expected; observe whether the discharge of oil residue is smooth and whether there is any blockage phenomenon. In the process of load test run, according to the actual situation of the machine’s feeding speed, heating temperature and other parameters should be adjusted appropriately, in order to achieve the best oil extraction effect. Load test run time can be determined according to the actual situation, generally recommended to run more than 30 minutes to fully test the performance and stability of the machine.
Precautions
In the process of installation and commissioning, the safety operation regulations must be strictly observed to ensure personal safety. Especially when connecting the power supply and electrical operation, to prevent electric shock accidents.
During the installation process, the various parts of the oil press should be gently held and placed to avoid collision and damage. For some precision parts, they should be installed and debugged correctly according to the requirements of the manual.
If you encounter problems during installation or debugging, don’t blindly disassemble or repair the machine by yourself, you should contact the manufacturer’s after-sales service personnel or professional technicians in time to seek help.
Through the above detailed installation steps and precautions, I believe you can successfully complete the installation of the new automatic oil press and make it run normally, bringing convenience and benefits for your oil processing or home self oil extraction.
gao
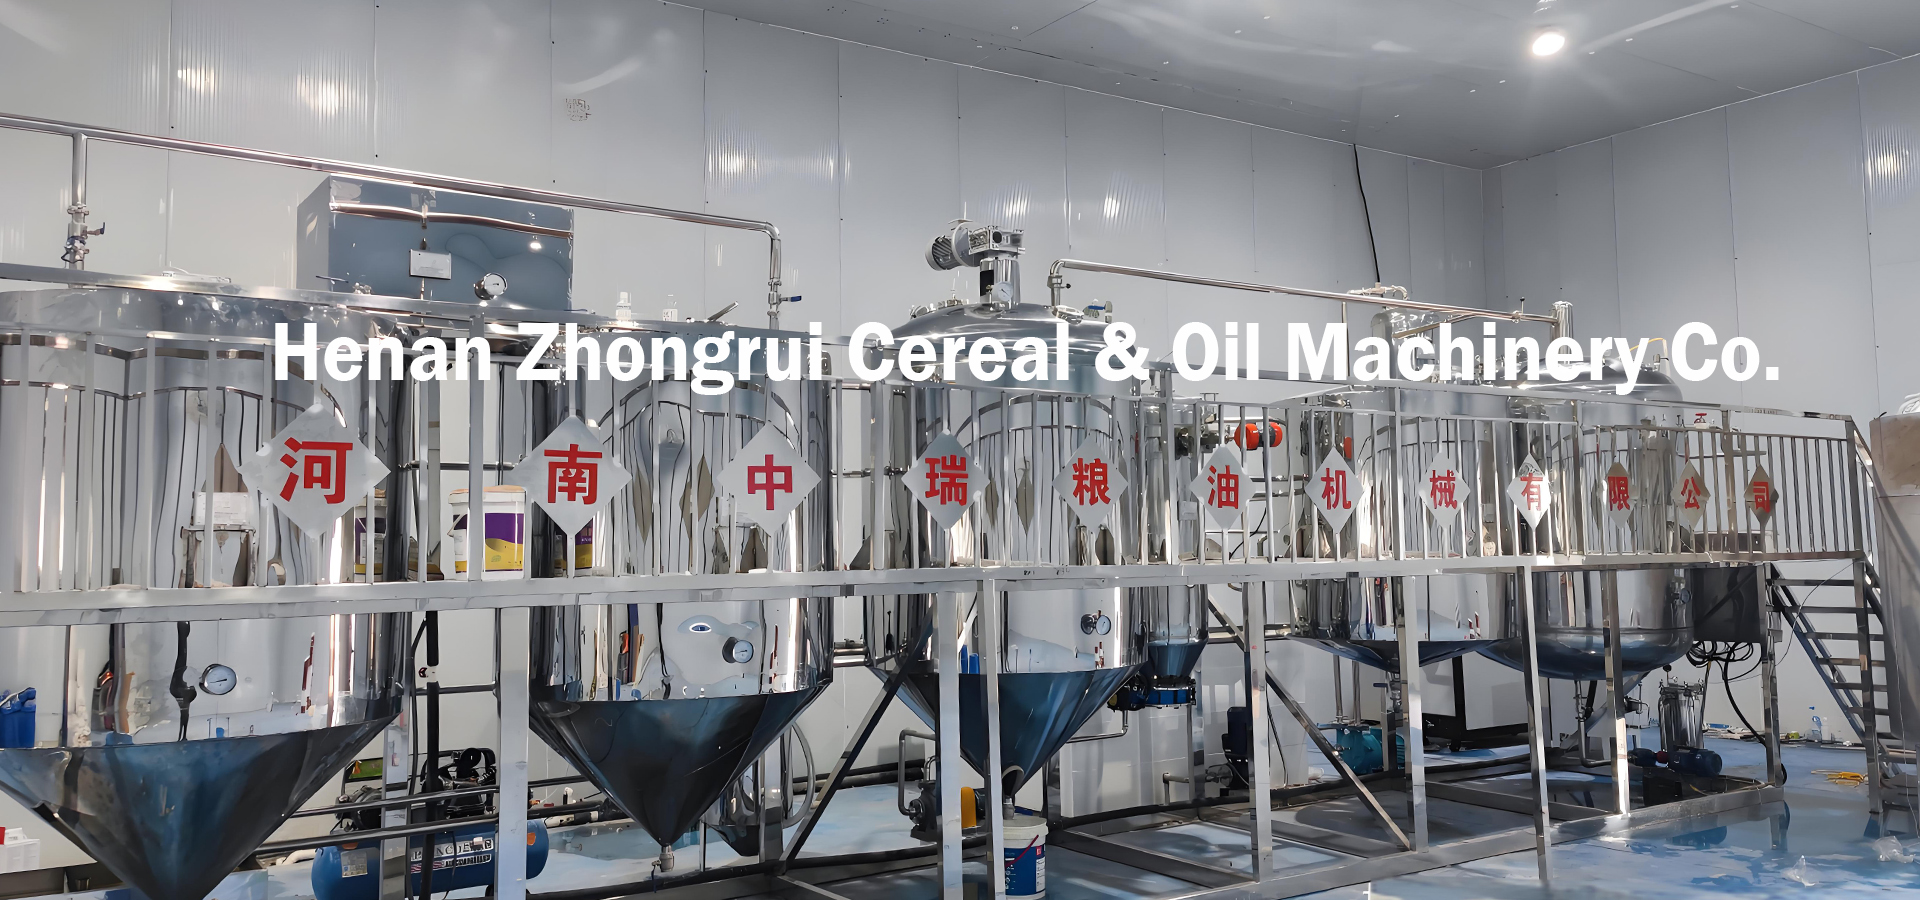
Henan Zhongrui Grain is a high-tech enterprise specializing in the research, development, manufacture and sales of oil press equipment, and has been deeply engaged in the field of oil processing for more than ten years. The company integrates design, production and testing, and its products cover screw oil press, hydraulic oil press, automatic refining production line, etc., which are suitable for rapeseed, peanut, soybean, sesame and other oilseeds, and help customers to realize efficient, energy-saving and environmentally friendly oil and grease production.